|
|
|
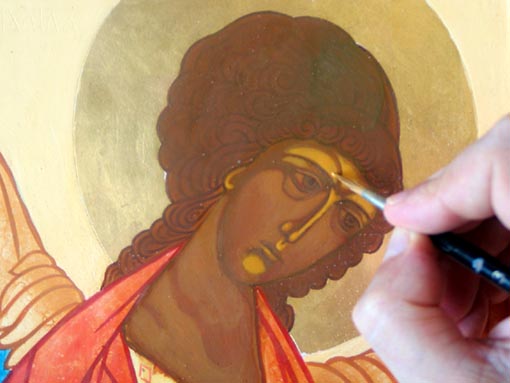
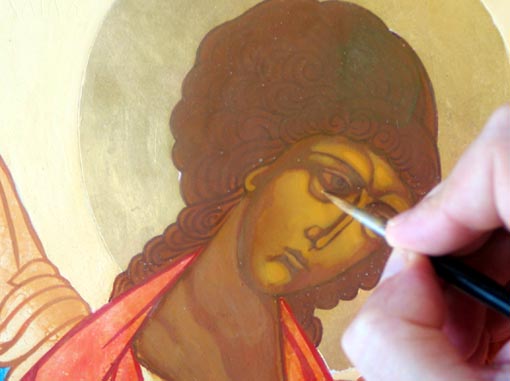
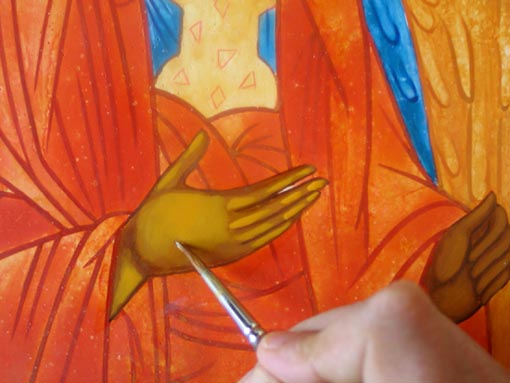
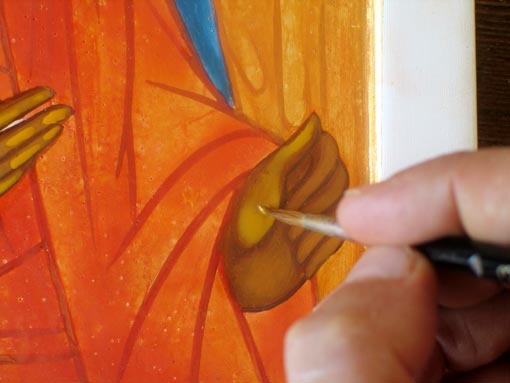
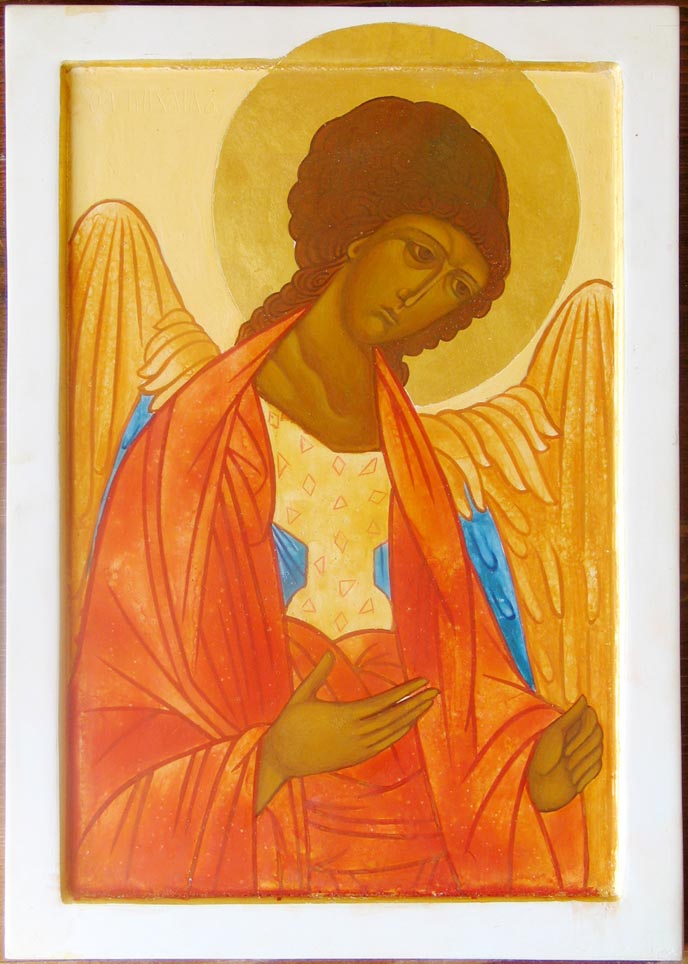
| The third highlight The procedure for the third highlight is very similar to the preceeding one, but the tint is clearer and the higlighted areas are concentrated on the parts of the face where the light is denser. The colour is a mixture of yellow ochre, a point of red ochre, a point of yellow chrome and a good point of white lead. To mix well the white lead with the other pigments, add a drop of surgical spirit in the colour and mix with your brush. Apply the colour using the puddle technique. |
|
 |
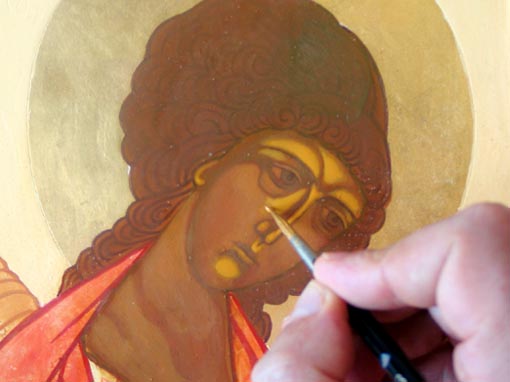 |
Make some highlighting tests on a small area and let it dry (on the vertical part of the nose, for example) to know whether you have a good tint. If the tint is too yellowish or too whitish, apply a bit of egg on the colour and let it dry... If the colour is still too whitish, add a bit of vermilion red to the mixture and try again... On the contrary, if the highlight is too weak, add a bit of chrome yellow or even a bit of white lead and try again on a small area. You must find the good proportion, and it is important to do these tests before working on the whole face. |
|
 |
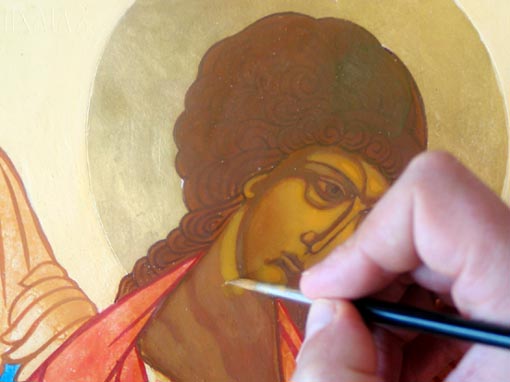 |
After applying the highlight colour, extend some water around the first coloured puddle, pull the liquid towards the clearest area to fuse the passage from one highlight tint to the other. Wait until the puddles are completely dry before adding another layer of egg mixed with 50% of water to fix and nourish the colour. |
|
 |
 |

 |
Next step: Stumping - Retracing the lines |
||
Click on pictures to enlarge... |
|
||
| P. Grall © Saint Andrew Workshop 2021 All rights reserved | |||

